Step 1:
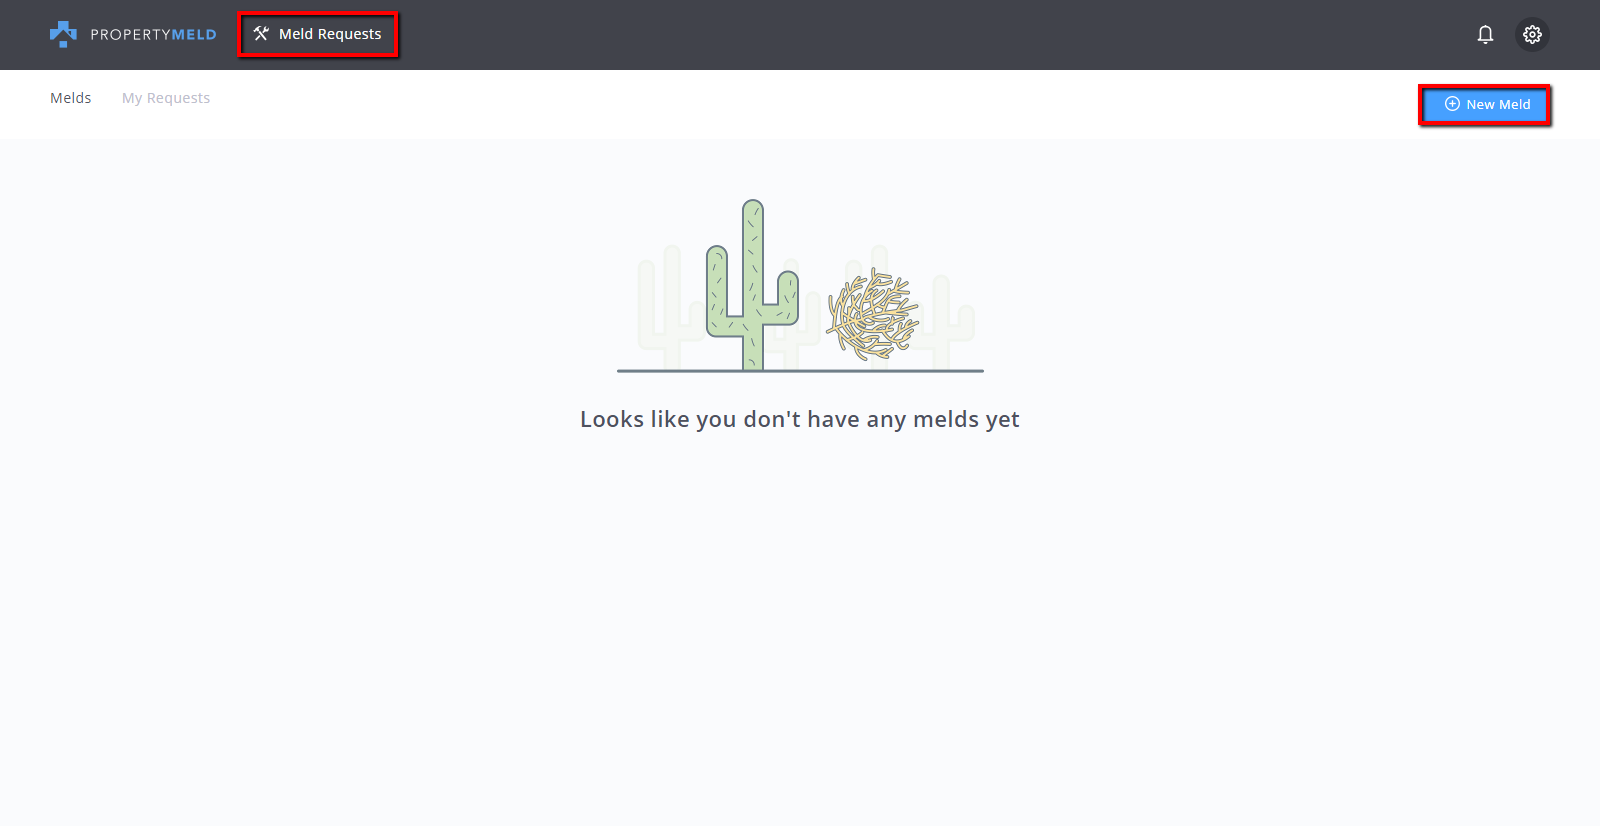
Click Meld Requests and click New Meld.

Step 2a:
If your Property Manager has provided Emergency handling instructions, those instructions are displayed at the top of the New Meld.
If necessary, click the highlighted section: If this is an emergency, please click here.

Step 2b:
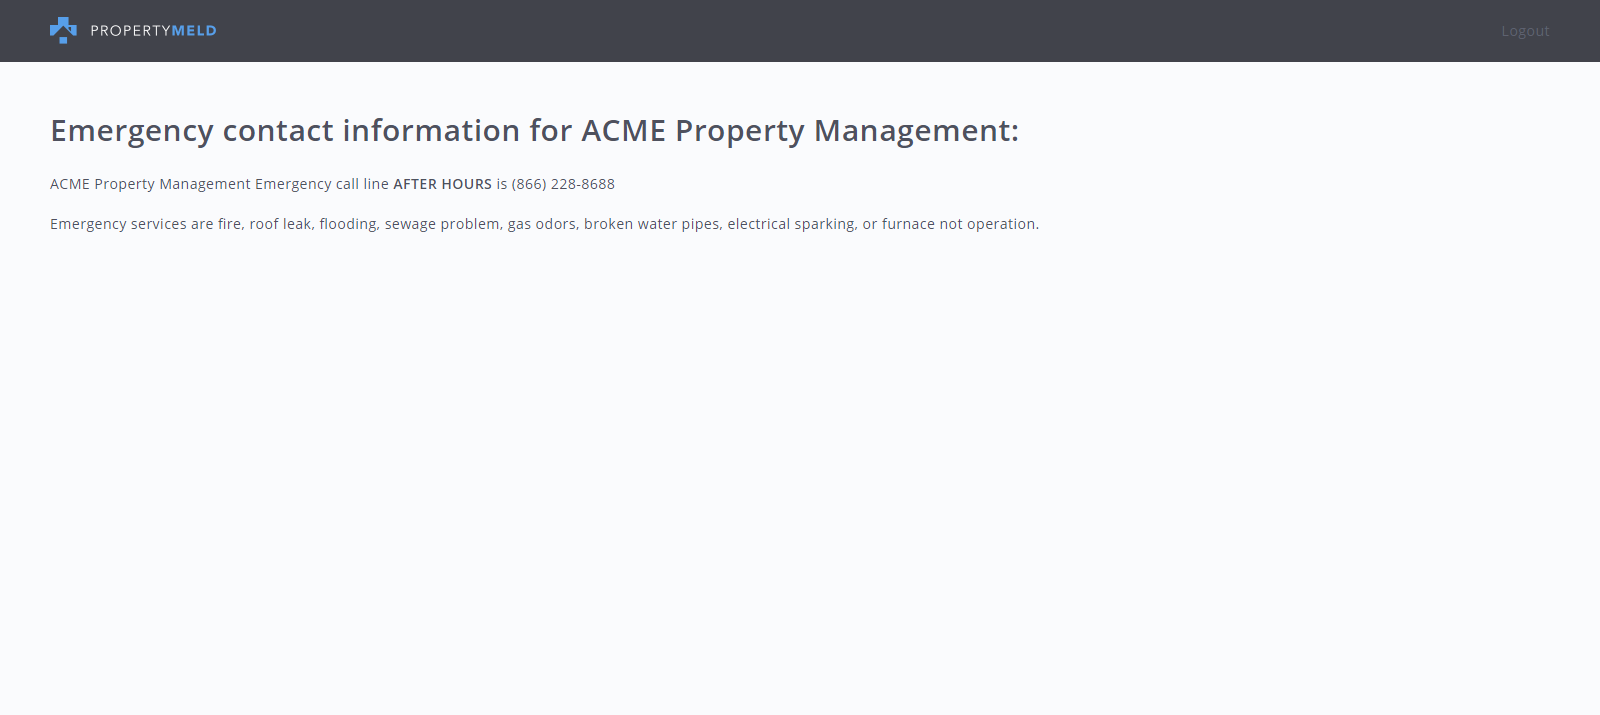
Emergency contact information will be displayed.
The Emergency contact information is provided by your property manager.

Step 3:
Enter your maintenance request information with the following guidance.
NOTE: Asterisks * mean that the field is required.
- Brief description * (Required) - This is the title of the Meld displayed to the Property Manager.
- Detailed Description (optional) - Additional details visible to the Property Manager or Maintenance Technician (if applicable).
- Address * (Required) - Displays your Unit address. Your Unit will automatically populate this field.
- Related to a past meld? * (Required - Yes/No) - If this maintenance request is related to a past Meld, click 'Yes' and those Meld titles will be available in the dropdown list to select.
- Category * (Required) - The category that this issue falls under (e.g. Appliances, Electrical, Heating/AC, etc.).
- Area/ Room (ex. Kitchen, Roof) * (Required) - The area of your residence where maintenance will be taking place.
- Do you have Pets? (Required) - Check Yes if you have any.
- If Yes - You are required to let your Property Manager know what kind of pets you have.
Click Next.

Step 4a:
If you do not need to be present during the maintenance, click CREATE.

Step 4b:
If you need to be present during the maintenance, click YES. You will then need to select a minimum of 5 appointment windows where you are available.
NOTE: You can click the arrows surrounding the date beneath 'TODAY' to select appointment windows on different dates.

Click CREATE.
IMPORTANT: This is NOT a guaranteed appointment time. You are simply providing your availability to the Vendor/Maintenance technician. If none of the appointment windows that you've provided will work for them, they can reply with additional time windows for you to choose from until an agreement has been reached.
Step 5:
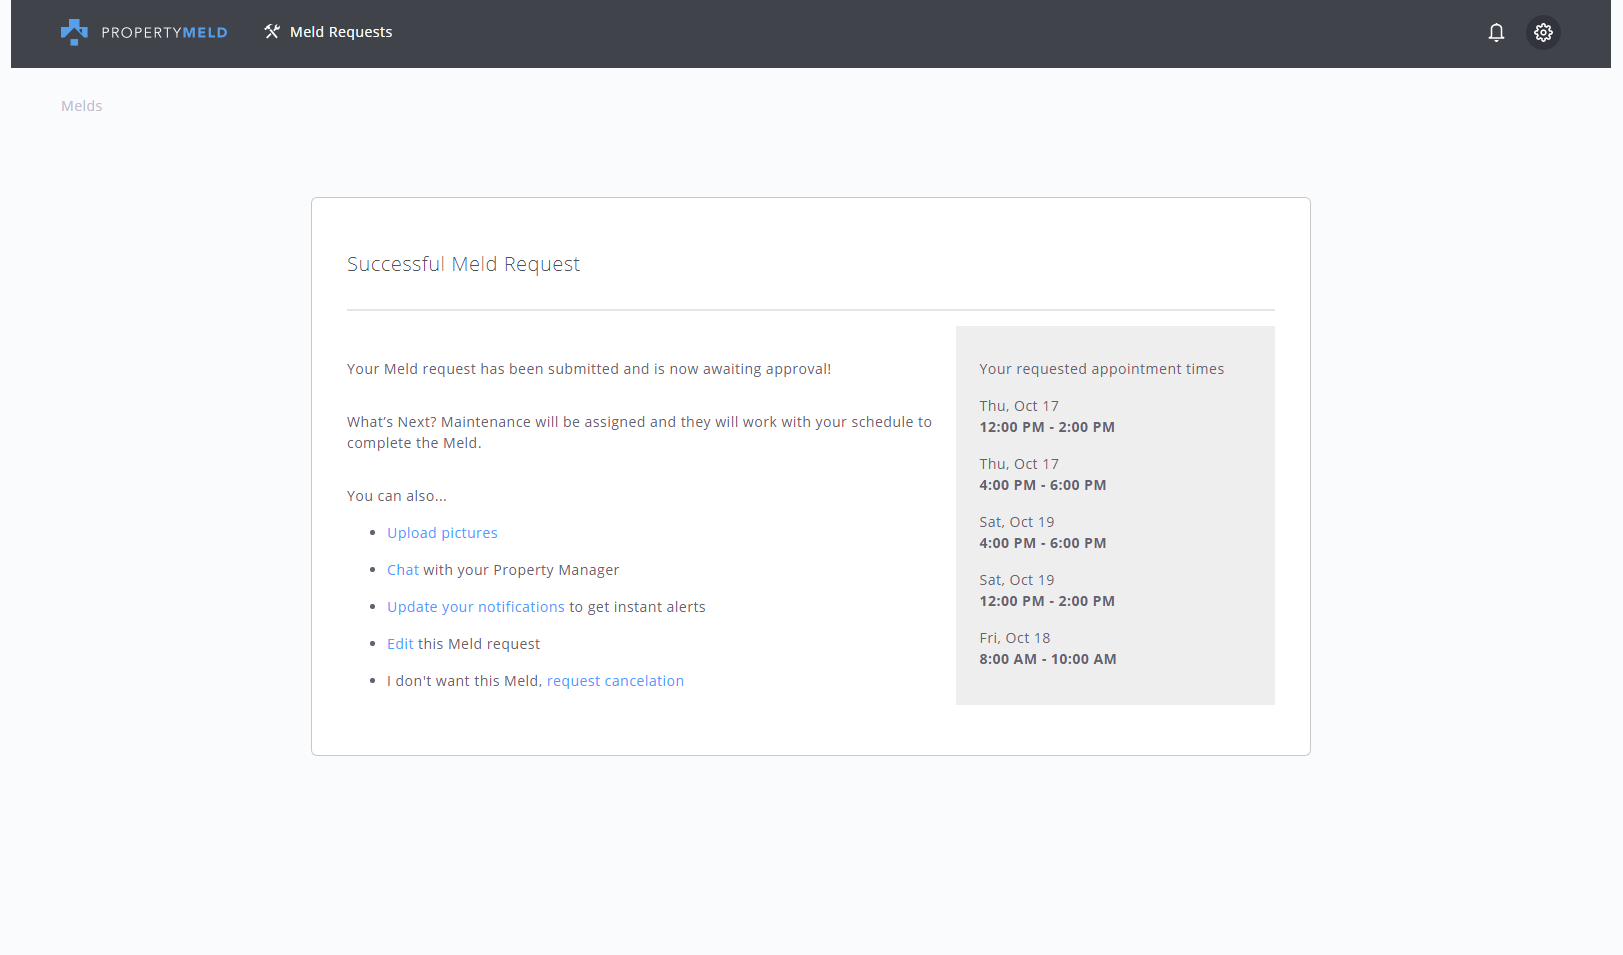
Now that your Meld has been submitted, you can click:
- Upload Pictures will take you to the Info tab within the Meld where you can upload pictures towards the bottom of the screen.
- Chat will take you to the Chat tab where you can send messages to your Property Manager or the Vendor/Maintenance Technician assigned to your Meld.
- Update your notifications will take you to your Account Settings where you can manage your text/email notification preferences
- Edit will take you back to the Meld form if you need to make changes. This cannot be done once the Meld has been assigned to a Vendor/Maintenance Technician by your Property Manager.
- request cancelation will allow you to submit a request to cancel your Meld. You will need to provide a reason why if this is selected.

For all other helpful tips regarding Appfolio tenants online portal click here